Week 8: Natural Paints (Yellow, Pink, Green), New Mushroom Spawn Bags
May 17, 2024
Welcome back to my blog!
This was an exciting week: we finally have colors! Ideally, I would have liked to pour the natural paints and let them set in mycelium pans, but because the mycelium has been tricky to cultivate and is still growing in the lab, I used cardboard as a temporary container instead. I measured, cut, and hot-glued pieces of cardboard to make these. Once the paint has dried, I’ll take it out of the cardboard!
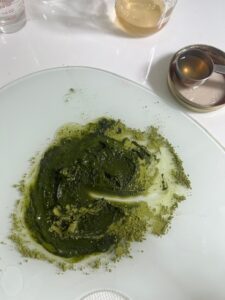
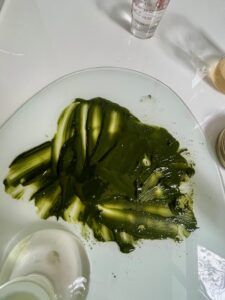
To make the natural paints, which I’ve been planning for a couple weeks, I combined the binder solution I prepared in Week 4 with raw ingredients, in a process called mulling. Mulling paint is the process of grinding and dispersing pigments into a binder to create a smooth and uniform paint mixture. This process ensures that the pigment particles are evenly distributed throughout the binder, resulting in a consistent color and texture. I experimented with three colors and will be making more shortly! For yellow, I used turmeric, matcha powder for green, and azalea flowers for a pink/purple. I learned valuable lessons from making these three colors; powders set much faster than liquids, and matcha (which I sifted before-hand) gave me the smoothest consistency. For the azaleas, which were collected from the ground, not their stems, I used the Infusion Method, rather than drying them out and grinding them. The petals were damp from overnight rain, so after quickly using a pestle and mortar, I transferred them to a pot with a small amount of water (kind of like making a tea), creating a colored liquid that was then strained and combined with the binder solution (See Figures 1,2,3).
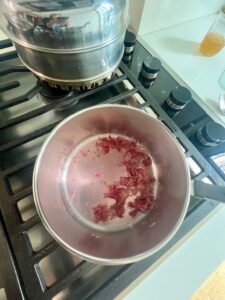
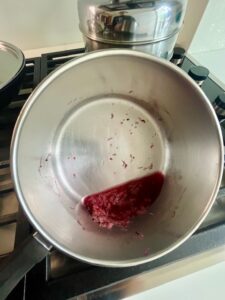
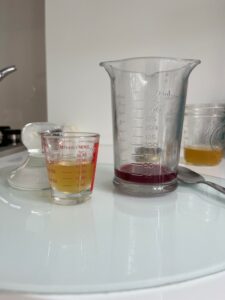
While the petals gave me an incredible purple/pink pigment, the liquid mixture has still not set, so I’ll stick to powders in the future. (See Figures 4,5 for the green paint process). These paints are still drying, but I plan on getting swatches of all the colors on watercolor paper!
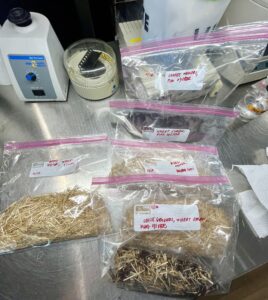
At the lab this week, I discovered mold on the wheat straw, King Oyster mushroom mix. The King Oyster mushrooms thrived on the agar plates, however. To try again, I autoclaved the rest of my straw and made five mini mushroom spawn bags this time (See Figure 6), each a slightly different combination of substrate (I used both wheat straw and fresh coffee grounds, another rich source of nutrients for mushrooms), oyster mushroom strain, and inoculation method.
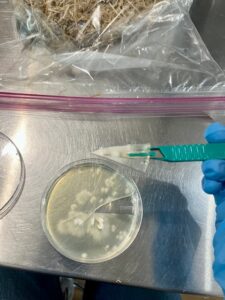
From one of the successful agar plates, I gently cut a piece of the mycelium to put in some of the bags (see Figure 8) and used a pink oyster mushroom liquid syringe for others.
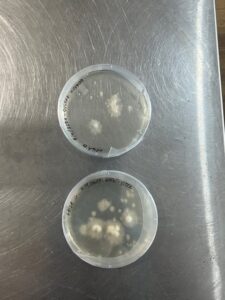
I also tested some of this liquid culture on more agar plates, just in case. I’m concerned about the acidity level of the coffee grounds and may modify the substrate.
See you next week for more updates!
Reader Interactions
Comments
Leave a Reply
You must be logged in to post a comment.

The creation of pigments is really interesting. I’m curious if you plan on doing any other colors, and if so, what materials you plan on using to get pigments. In particular, I’d be curious how you’d approach getting the color blue.
Yes, I plan on picking six colors that turned out best in total! See Week 9 for the color blue!
Laila, these paints look incredible! Each pigment is so captivating, I know it’s difficult to achieve the right level of color with natural ingredients, so the dedication you’ve put into selecting ingredients really shows through. And excellent foresight on the coffee ground acidity, I can’t wait to see your mycelium pans and paint swatches in the coming weeks, incredible work!
Thank you!!