Week 5 Blog
April 24, 2024
This week, I’ve successfully 3D printed the pieces I designed just last week.
For those unfamiliar with 3D printing, here’s a brief overview: I began by exporting my 3D model file as an STL file. STL, which stands for stereolithography, Standard Triangle Language, or Standard Tessellation Language, is a common file format used in both 3D printing and computer-aided design (CAD). These files consist of interconnected triangles that define the surface geometry of a 3D model or object.
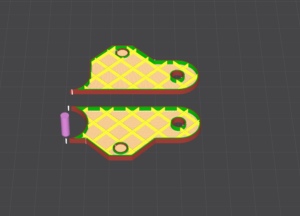
The next step involves using 3D printing software to slice the STL file into printable pieces. In my case, I utilized Creality Print software for this task. The pieces are sliced into layers, with an infill pattern that I’ve configured.

Once sliced, I save the file onto an SD card and insert it into my 3D printer to initiate the printing process.
But how does the actual 3D printer operate? It functions by constructing objects layer by layer from a digital design file. Starting with a digital model sliced into thin horizontal layers, the printer gradually deposits material—typically plastic filament or resin—layer by layer, adhering to the design until the object is fully formed. This method, known as additive manufacturing, entails adding material layer by layer, contrasting with traditional machining methods that involve subtracting material.
Following the printing process, I assemble the parts into a functional finger. It’s worth noting that printing all the parts for a single finger is time-consuming, taking at least 1 hour and 30 minutes. This slow pace emphasizes the importance of carefully checking for errors during the 3D modeling phase and ensuring the model is finalized before printing.

Leave a Reply
You must be logged in to post a comment.