Week 2: Contructing a Lapstrake Wooden Boat: Preserving the Craft and Its Cultural Significance
April 6, 2026
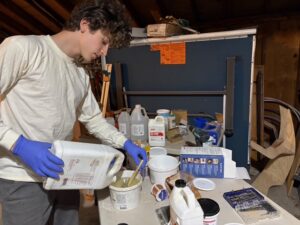
This was my second full week of working on building my wooden lapstrake boat. I started the week off with a hull held together by stitches, so my first priority was to join all planks with thickened epoxy fillets. Once cured, I was able to remove all of the stitches and make epoxy fillets all over the boat’s interior. Before starting on the fiberglassing stage, I assembled the transom by epoxying 2 ¾’’ marine plywood sheets together along the face to ensure enough thickness. The transom must be durable because it is subject not only to the weight of the outboard but also to the torque it generates.
When testing the previous boat I built for the first time, after putting the motor in forward from neutral, I heard a crack in the transom and immediately shut it off. I had to re-epoxy the transom and add support blocks and thicker fillets. My goal is for this boat not to have the same issue, so I’ve already added very large fillets to the transom.
*I have been using the term fillet frequently, and for those unaware, a fillet is a joint between two pieces of material by putting a thick seam of epoxy on the perpendicular edges, not on the inside of the joint.*
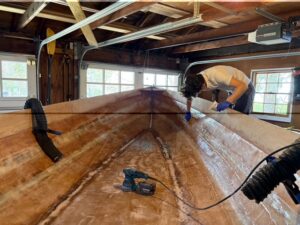
After the epoxy fillets cured on the interior, I thoroughly sanded to create a smooth, consistent surface. I then applied fiberglass tape to the interior joints running lengthwise. After curing, fiberglassed the sole and garboard with two layers, overlapping. This should provide sufficient rigidity when pounding down upon big waves. I also should mention I layered extra fiberglass along the stem of the boat, as that portion should be strong in case of collision and since that is where the wooden planks are under the most stress because of the bending process.
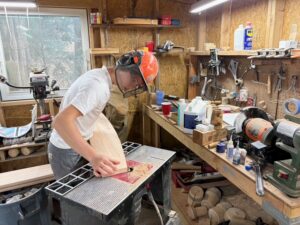
I ended this week by applying and sanding a fairing compound on the interior to reduce the fiberglass’s waviness. I also started prepping the seats because I will need them soon. My next steps are to apply one more layer of epoxy on the inside and then install the bulkheads.


Leave a Reply
You must be logged in to post a comment.