
Week #10: Wiring and Camera Streams
May 1, 2026
Intro:
Welcome to Week 10 of my blog. With the initial drone frame completed, I was able to finish wiring and mounting most of my components, and verifying camera streams. Let’s get into the finer details:
Transmitter:
There were many component I wired this week. One of them being the AKK X2-Ultimate Video Transmitter . This allowed me to stream my Raspberry Pi’s desktop (which was running the thermal camera’s livestream) to a radio-based external monitor.
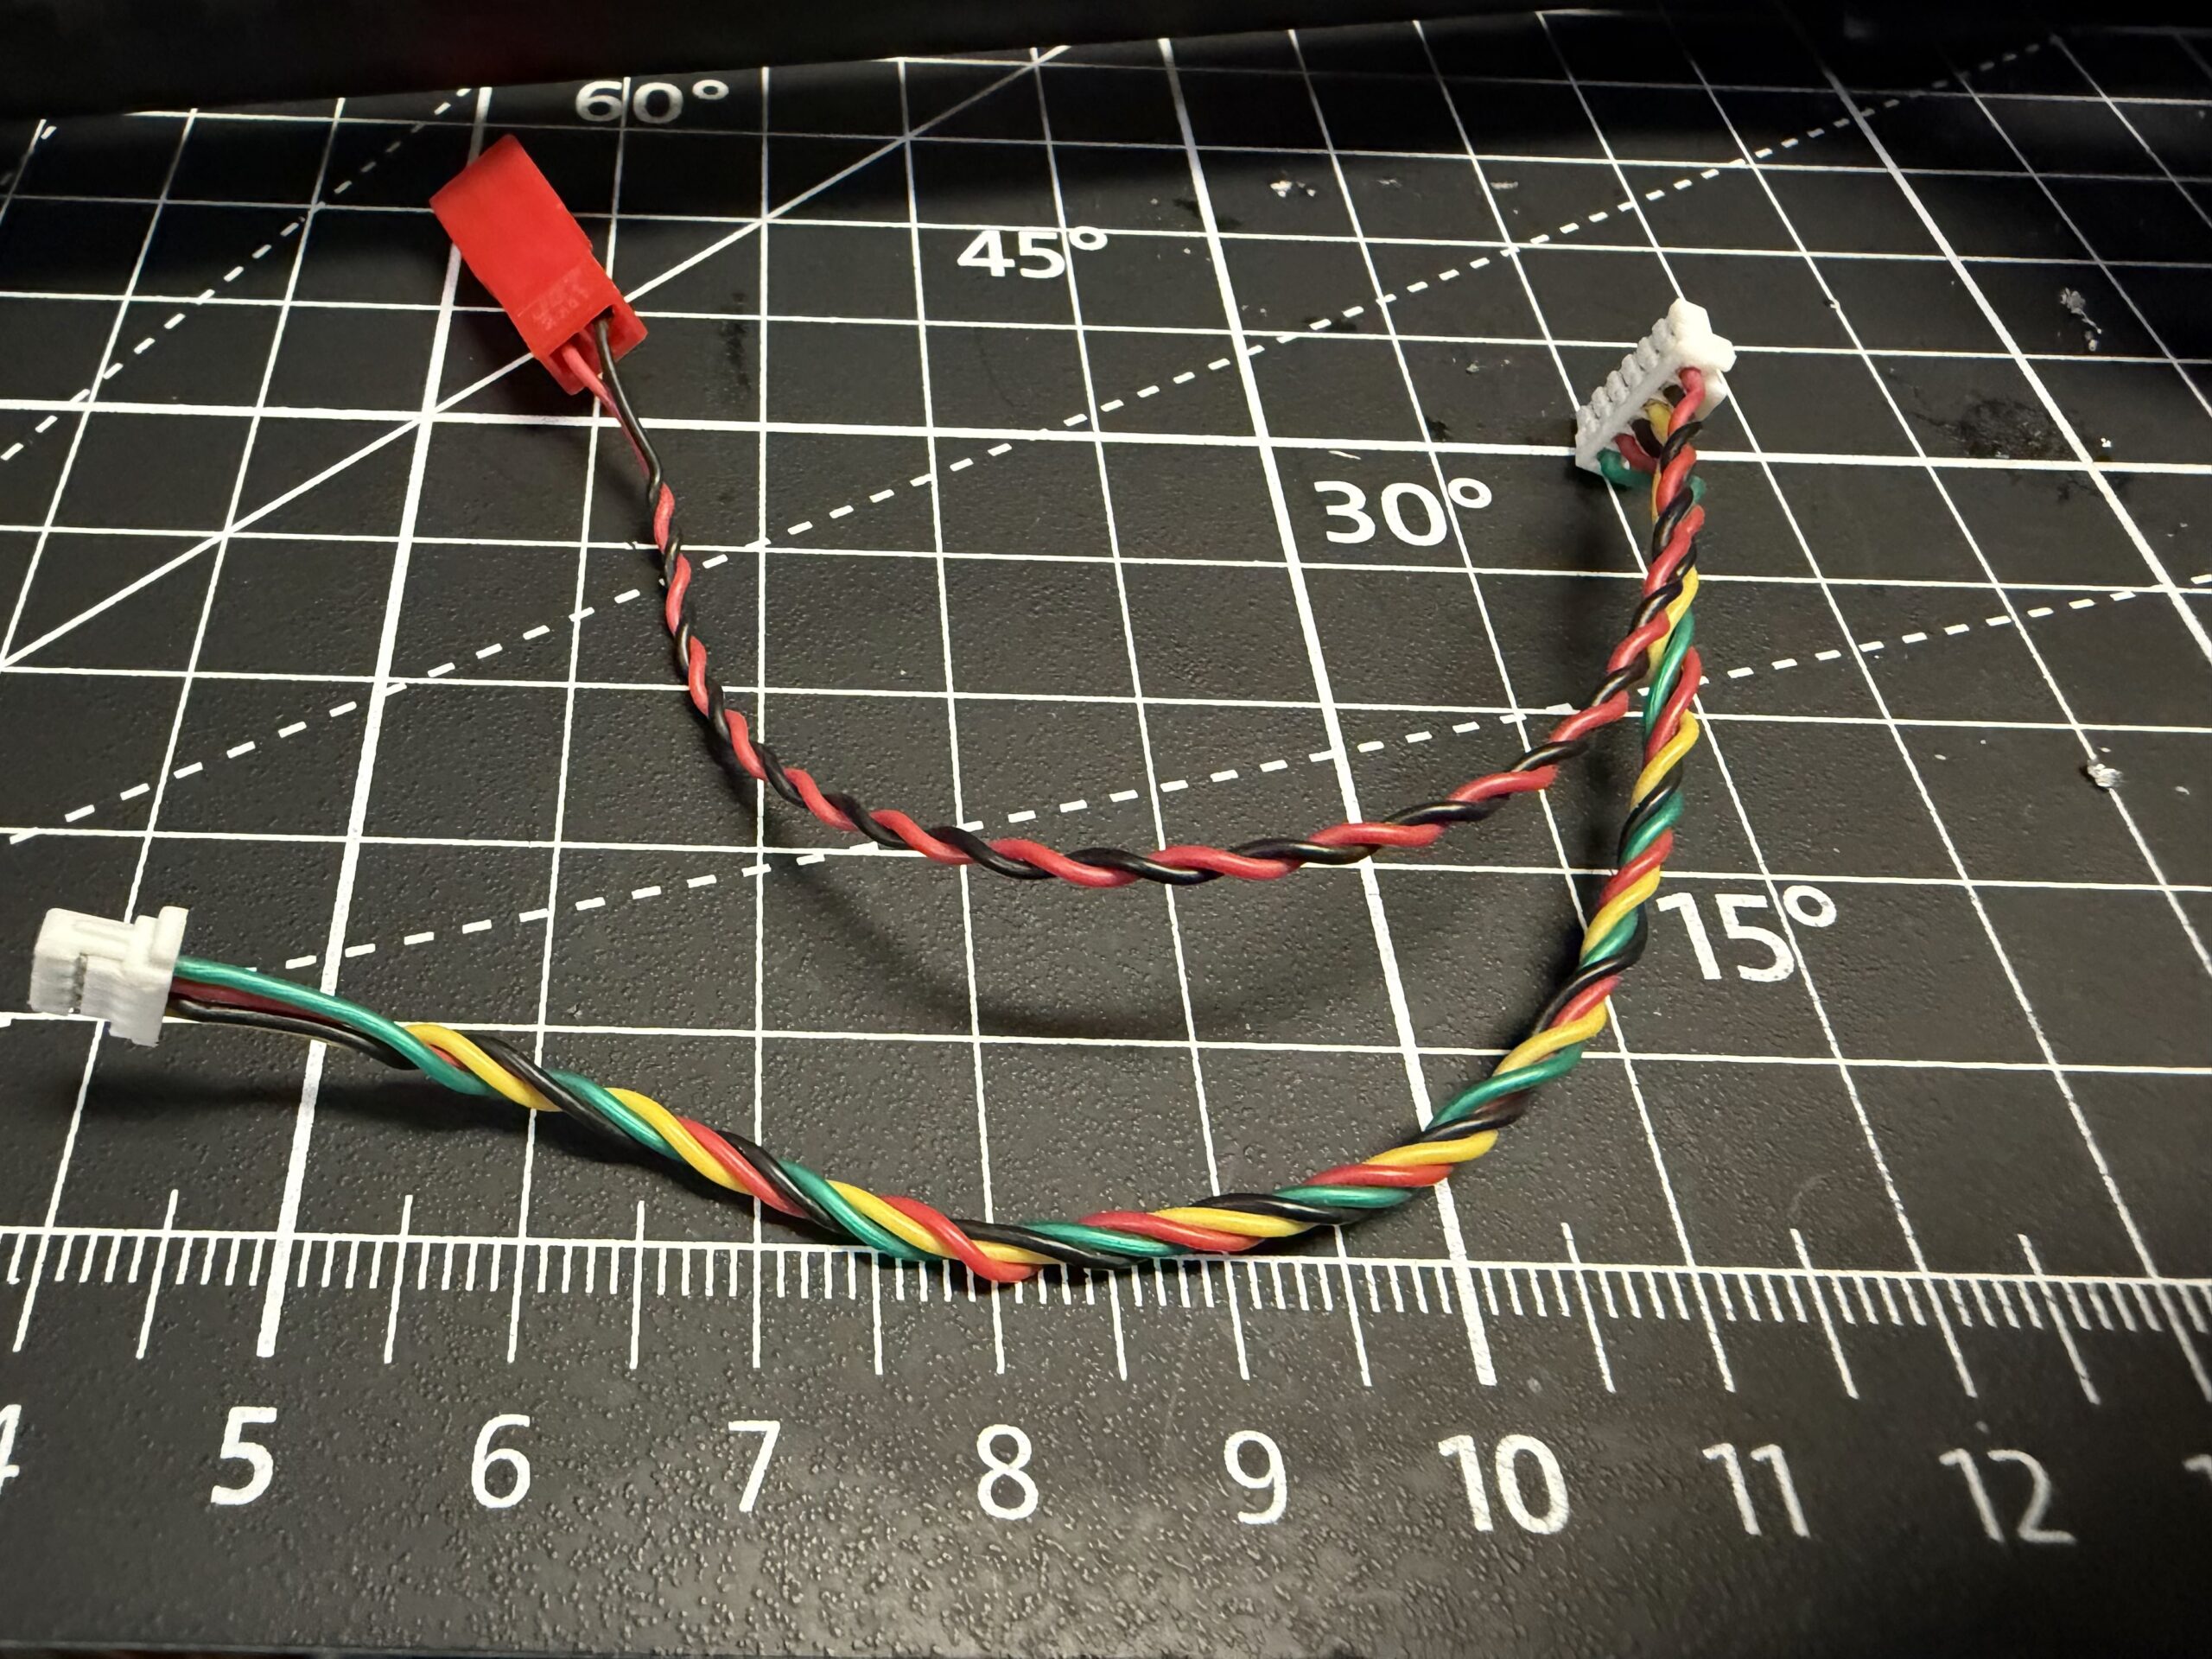
Figure 1. Pre-modified AKK X2. Photograph by author, 2026.
For this, I had to cut off the JST-GH connector (the white one on the left of the screen), and strip, tin, and solder the wires to another pair of wires. I was initially nervous about this procedure, as if I messed up, I wouldn’t have any second chances to reattach the connector. However, I was able to gather up my courage and do it. The operation was a success, and I now have a stable thermal video stream.
To automatically begin this video stream, I wrote a thermal_stream.py script that would open a preview of the thermal camera’s feed on the Raspberry Pi’s desktop. I then wrote a Shellscript script that would run the Python script 8 seconds after the Raspberry Pi is booted (when the drone battery is plugged in), and saved it as a service. This way, I shouldn’t have to SSH or VNC into the Raspberry Pi myself to manually begin the thermal stream.
Here’s a picture of the entire AKK X2:
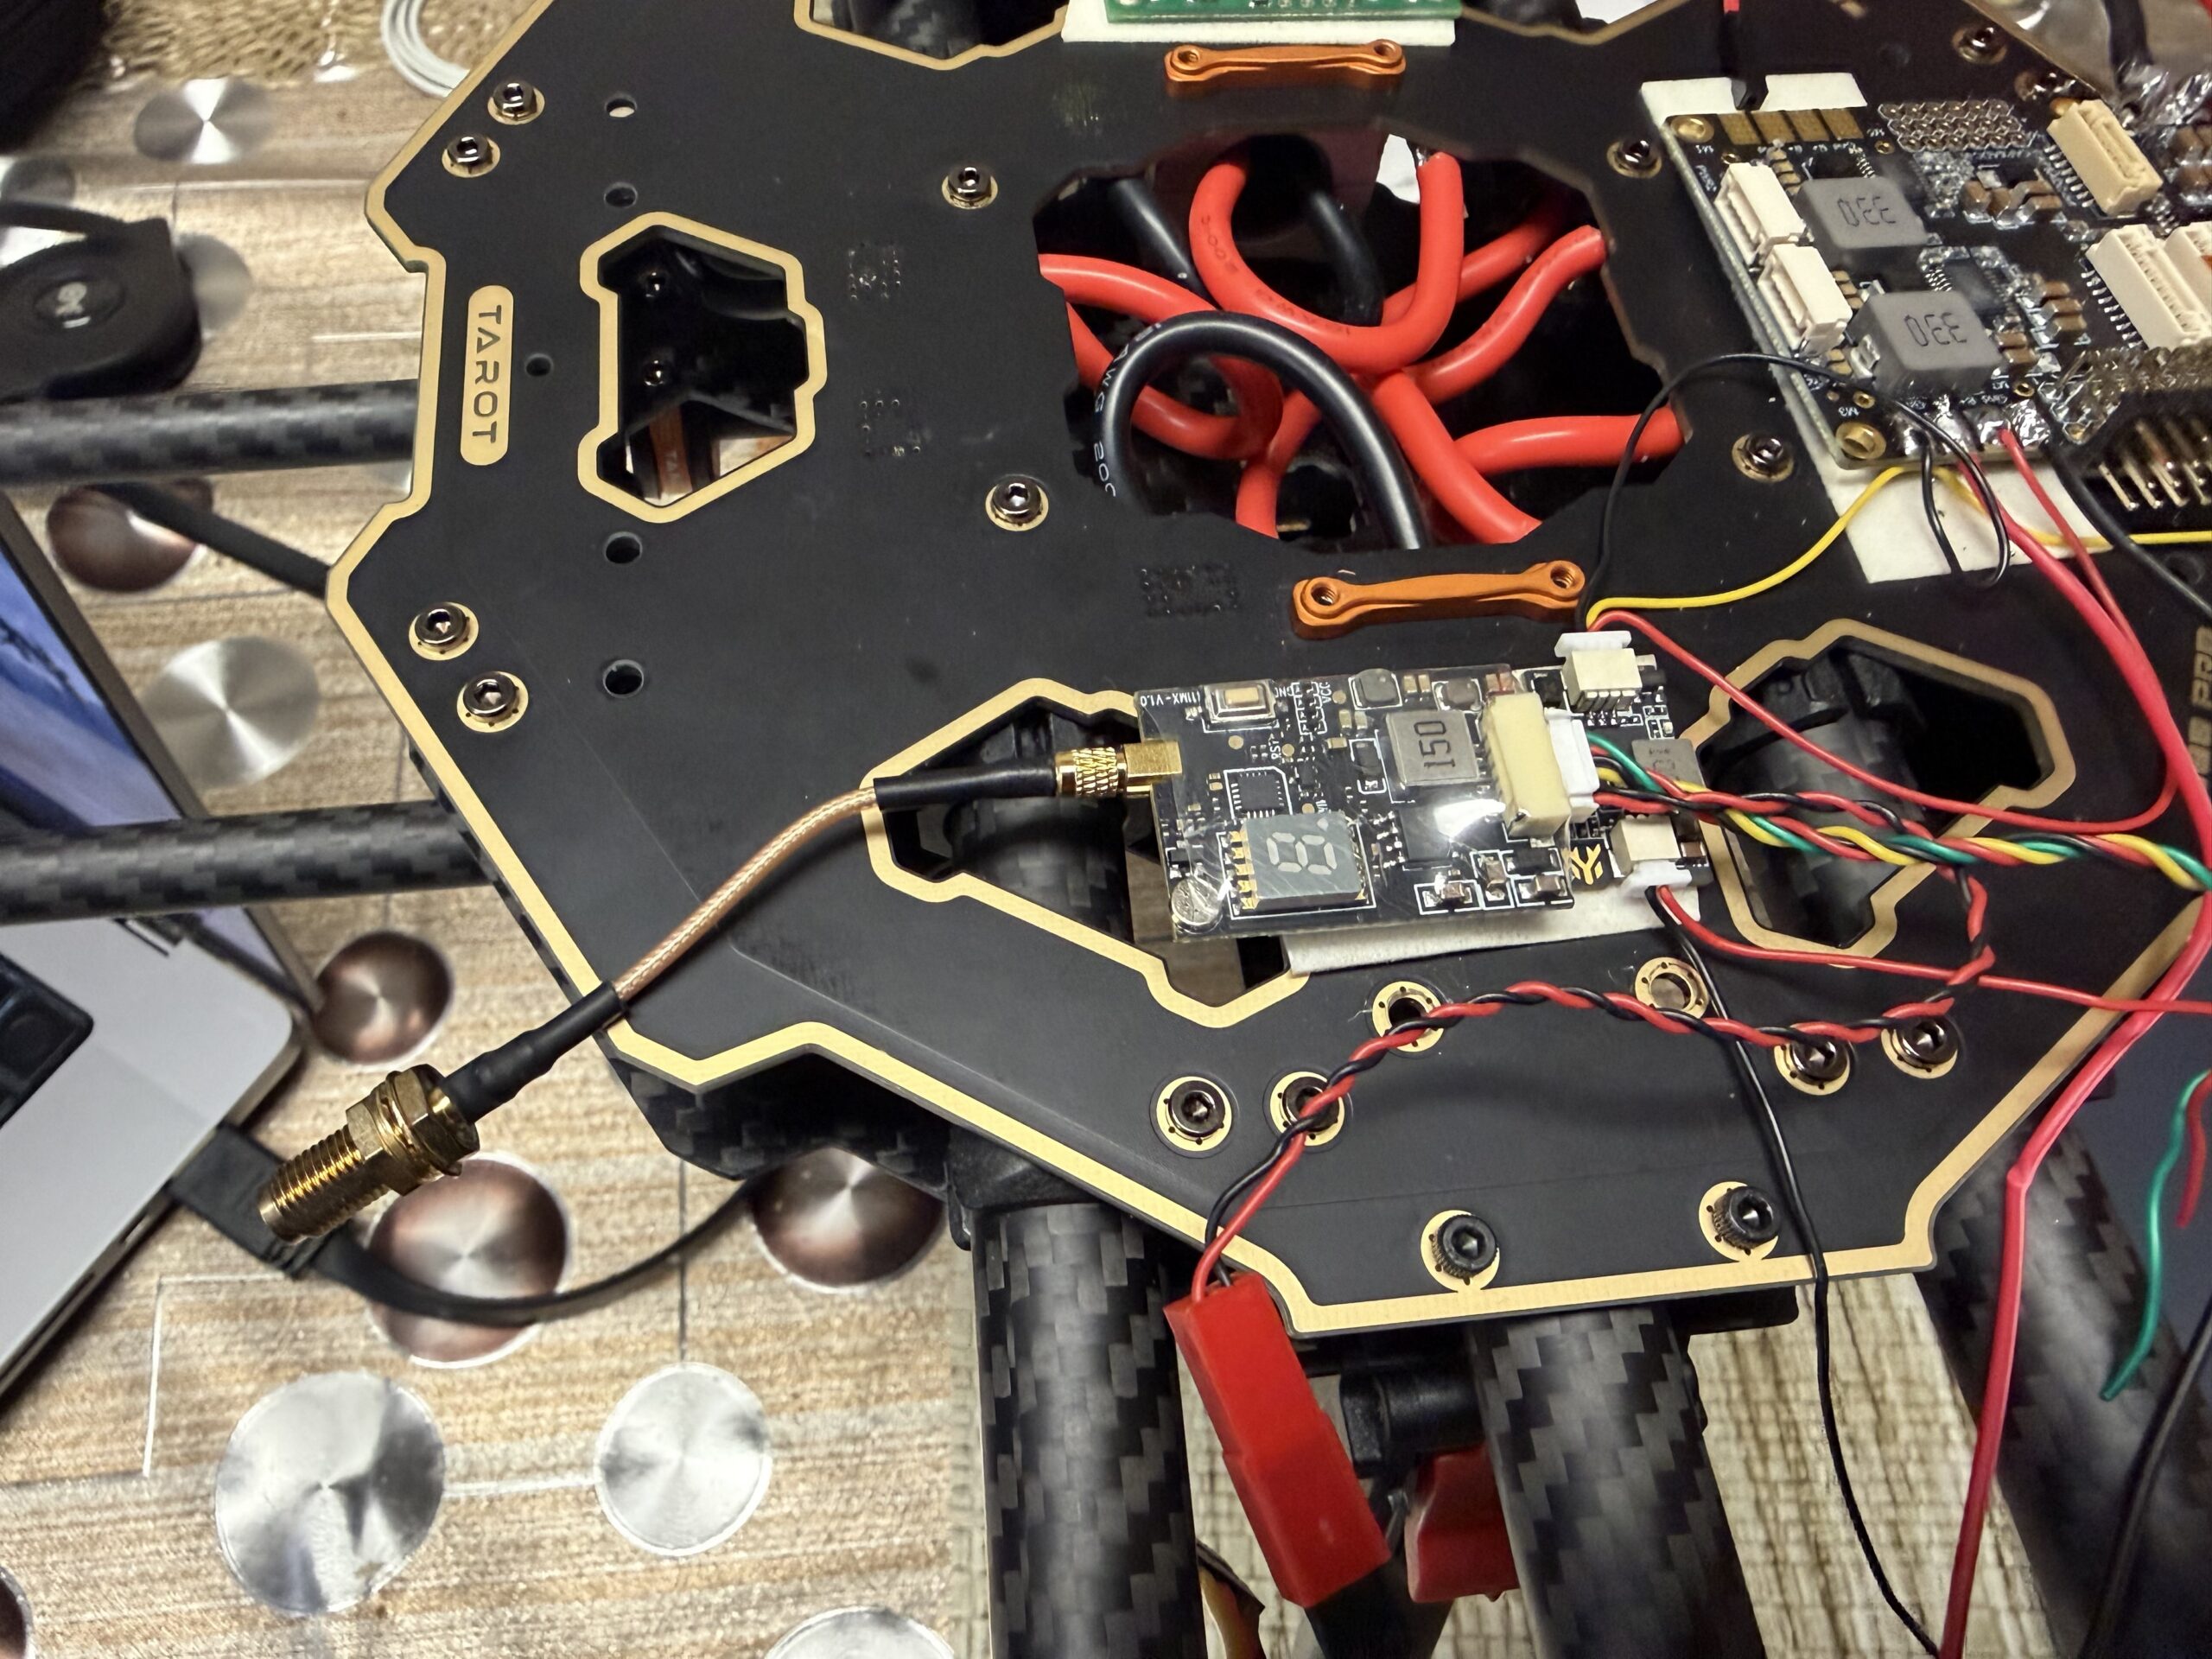
Figure 2. Mounted AKK X2. Photograph by author, 2026.
Here’s a picture of the working thermal video stream:
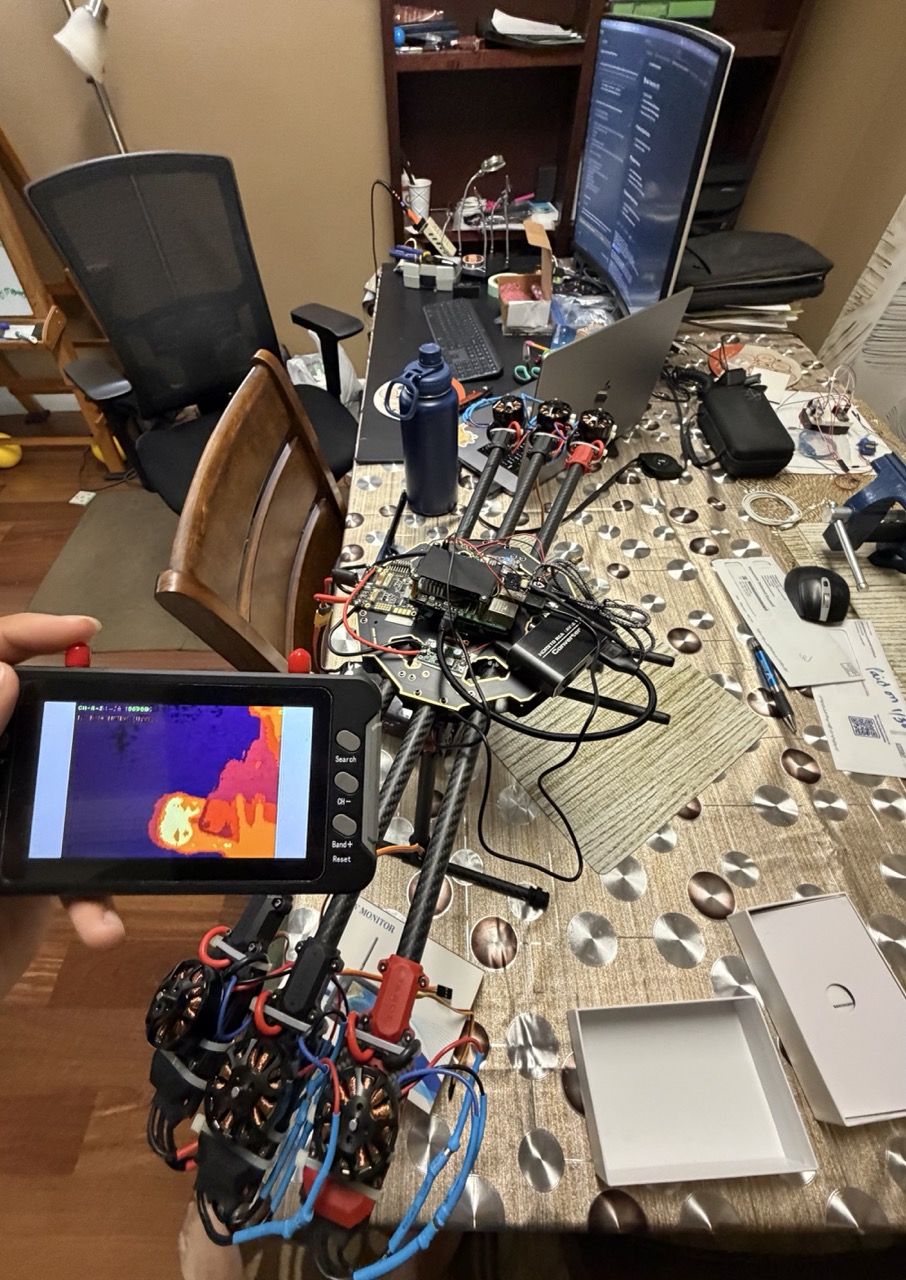
Figure 3. Thermal Video Stream. Photograph by author, 2026.
The Importance of Testing Connections:
An important part of this entire process that I may not have highlighted, is testing the electrical connections I’ve soldered throughout the entire build, testing for continuity and ensuring there are no shorts. I’d like to thank my internal advisor, Ms. Bhattacharya for telling me about this practice, which has given me confidence that about the quality of my build. Here’s an image of my workstation that I took after testing some connections:
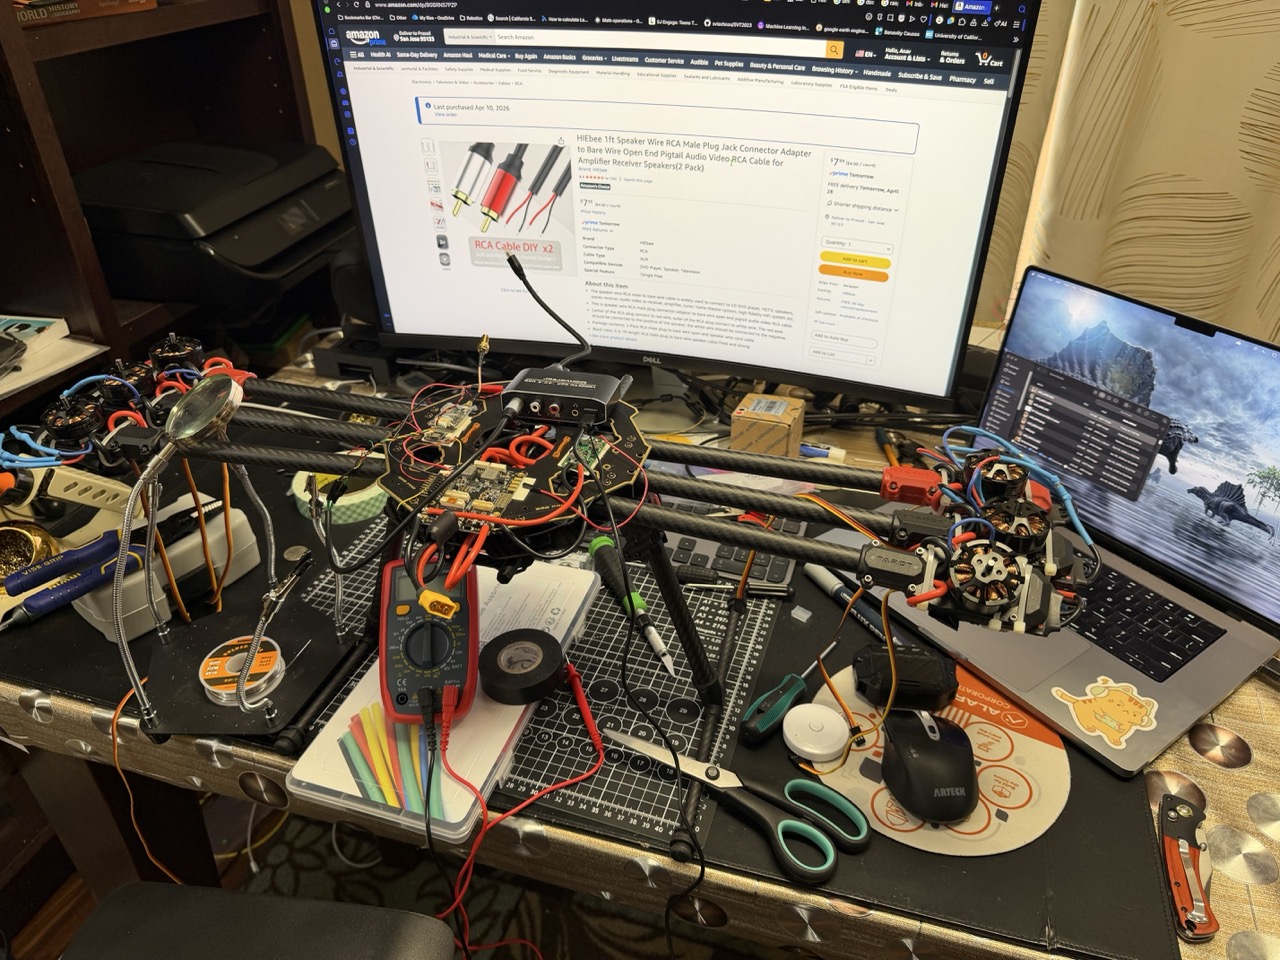
Figure 4. Workstation. Photograph by author, 2026.
The Build So Far:
Here’s a picture of the build as it stands as of today:
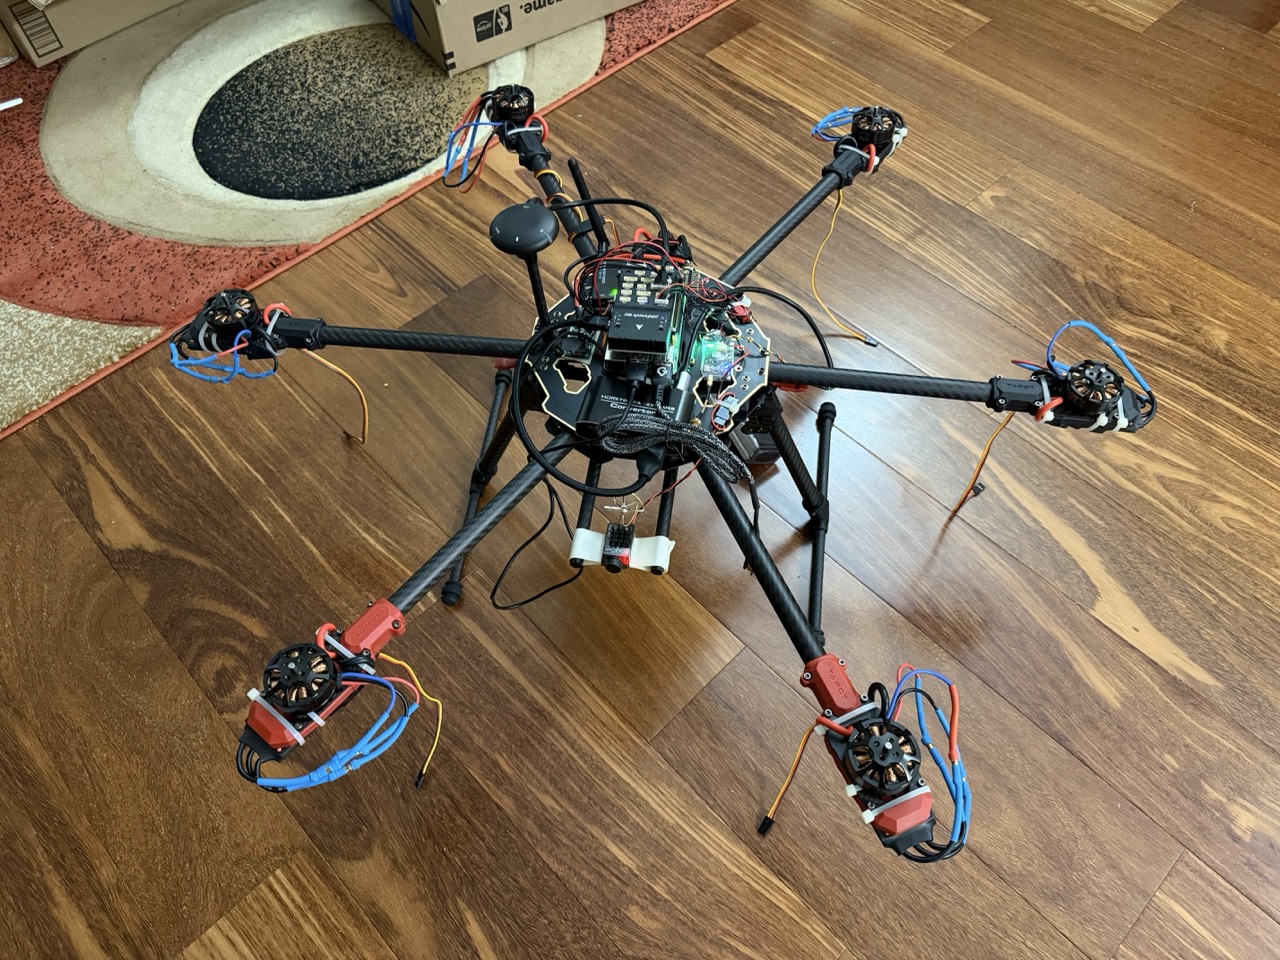
Figure 4. Current Build. Photograph by author, 2026.
Additionally to the AKK, I’ve wired a RunCam (small camera at the front) to an HGLRC BEC (which steps down the voltage). This will provide a non-thermal video stream that the drone pilot can use when flying the drone. I’ve also mounted the Raspberry Pi and Pixhawk onto the upper plate/PDB. I’ve connected the Pixhawk to the PM07 power module (to power it), the M9N GPS, and SiK Telemetry module (which will stream flight data like GPS position to a ground laptop).
Here’s a picture of both my drone’s (my science fair drone and this project’s drone) side by side to provide a size comparison. I feel like I’ve come a long way:
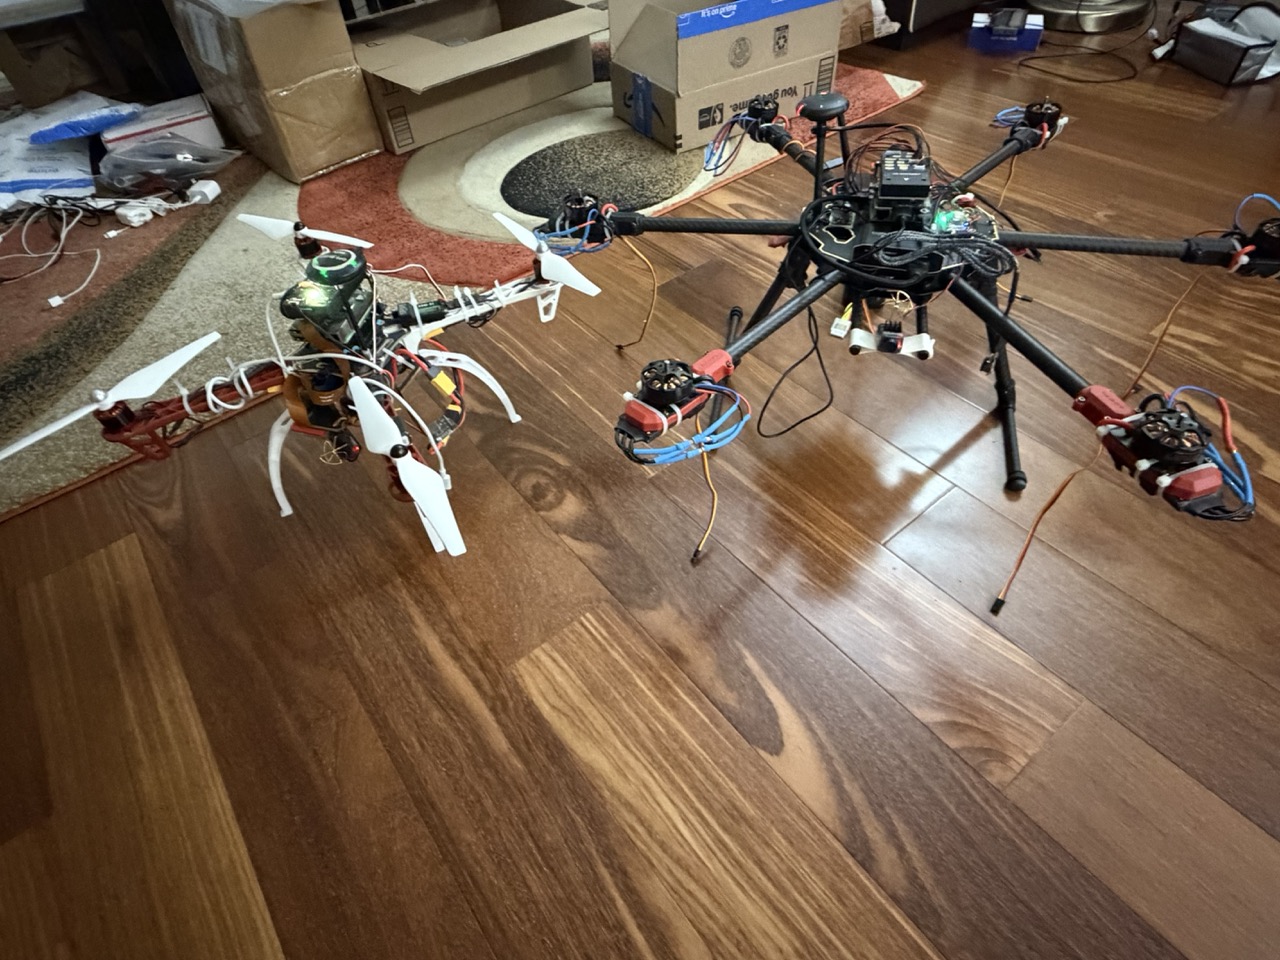
Figure 5. Hawk’s Work F450 and Tarot 680 Pro. Photograph by author, 2026.
Next Steps:
My next steps are to wire the ESCs to the Pixhawk and test the motors, setup my transmitter and receiver that I’ll use to pilot the drone, and mount propellors. I’ll also have to meticulously test the various systems this build has under flight conditions. My only question for now would be: has anyone built and flown their own drone? If so, what was your experience? Please share in the comments below. That’s all for now, I’ll see you guys next week!
Reader Interactions
Comments
Leave a Reply
You must be logged in to post a comment.
Hi Anav, nice job this week, it’s looking great! I’m excited to see what real images from the drone will look like. When do you think you’ll be able to test it out in the open?
Hi Aanya, I plan on testing it sometime next week. I just realized a blew a BEC today, so I’ll need to spend some time tomorrow installing a new one, as well as setting up my transmitter and flight controller. Once all that’s done, I’ll fly it.