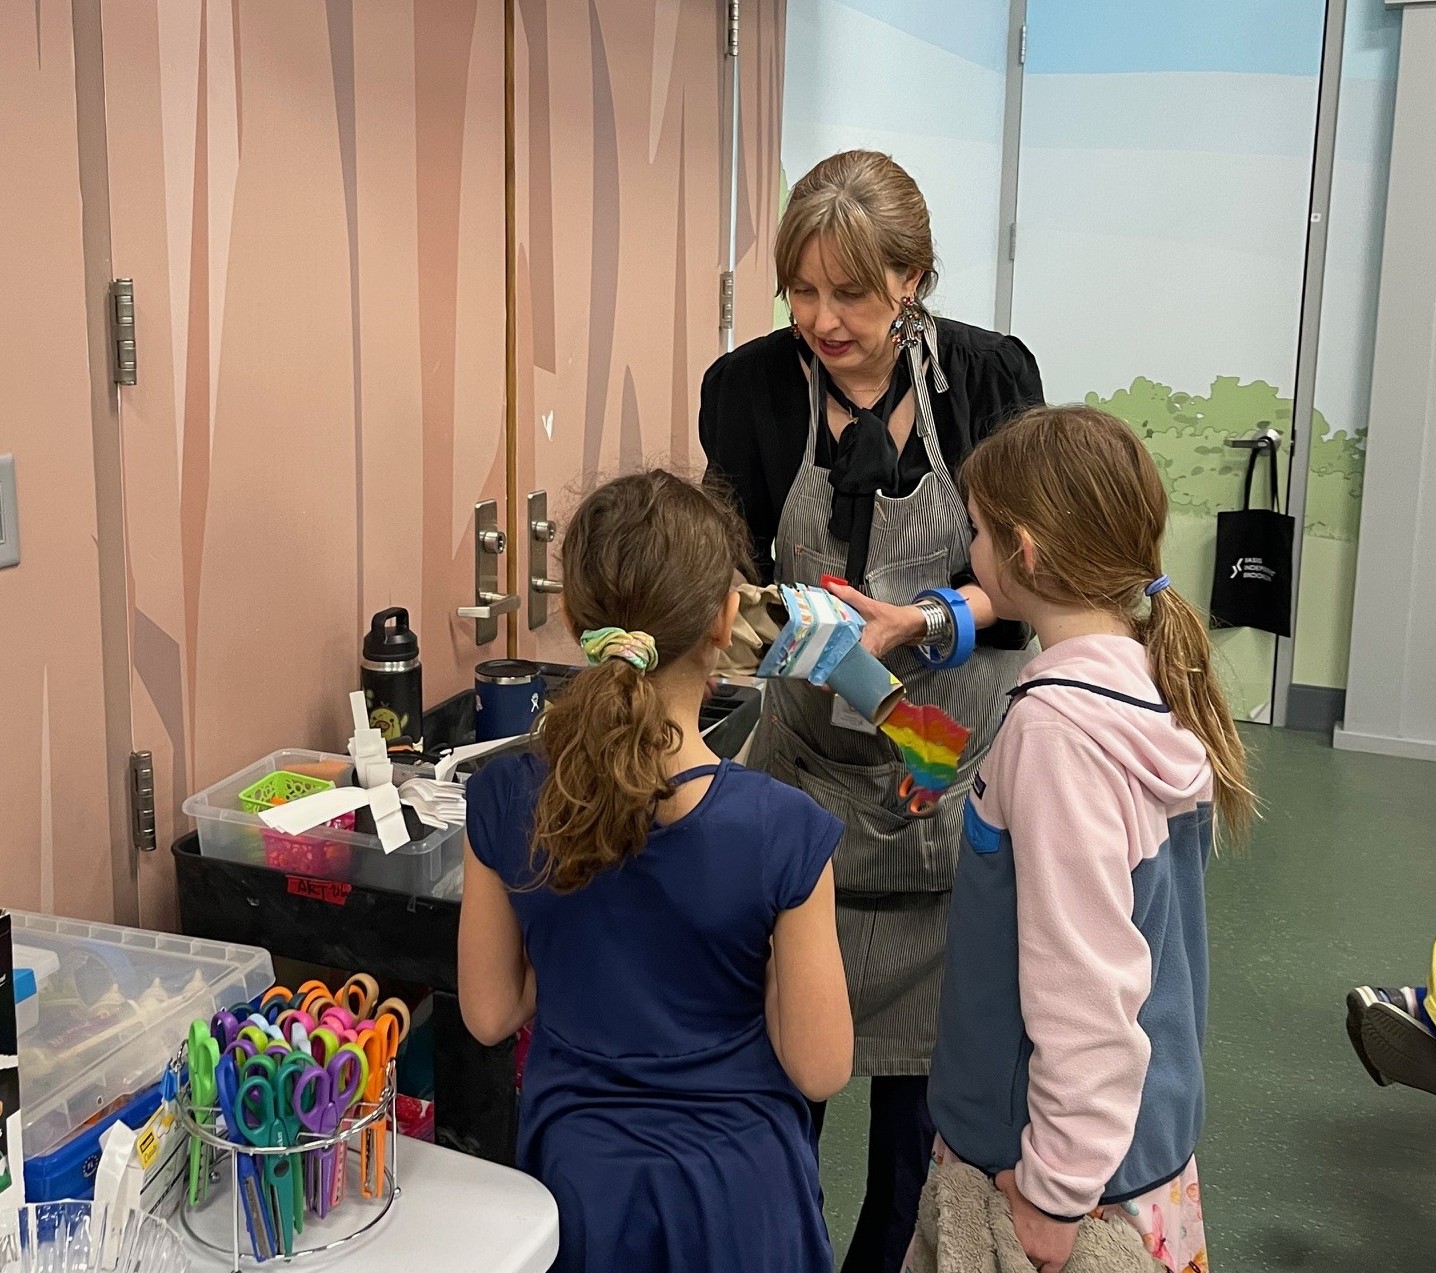
At our Lower School Coffee with School Leadership meeting in November, Visual Arts and Engineering teacher Ms. Nicole Porter delved into ways families can set up an art and makerspace at home. Her advice can help inspire our Lower School families to think of ways of setting up creative spaces that can engage students well into winter break and beyond.
“The number one question I am consistently asked in my meetings with families is how to nurture a love of art and creativity at home without letting art supplies and artwork take over,” shared Ms. Porter, who has led Visual Arts and Engineering as a Subject Expert Teacher at our Lower School campus for more than three years. Previously, Ms. Porter was an Early Education Teacher leading one of our PreK elements.
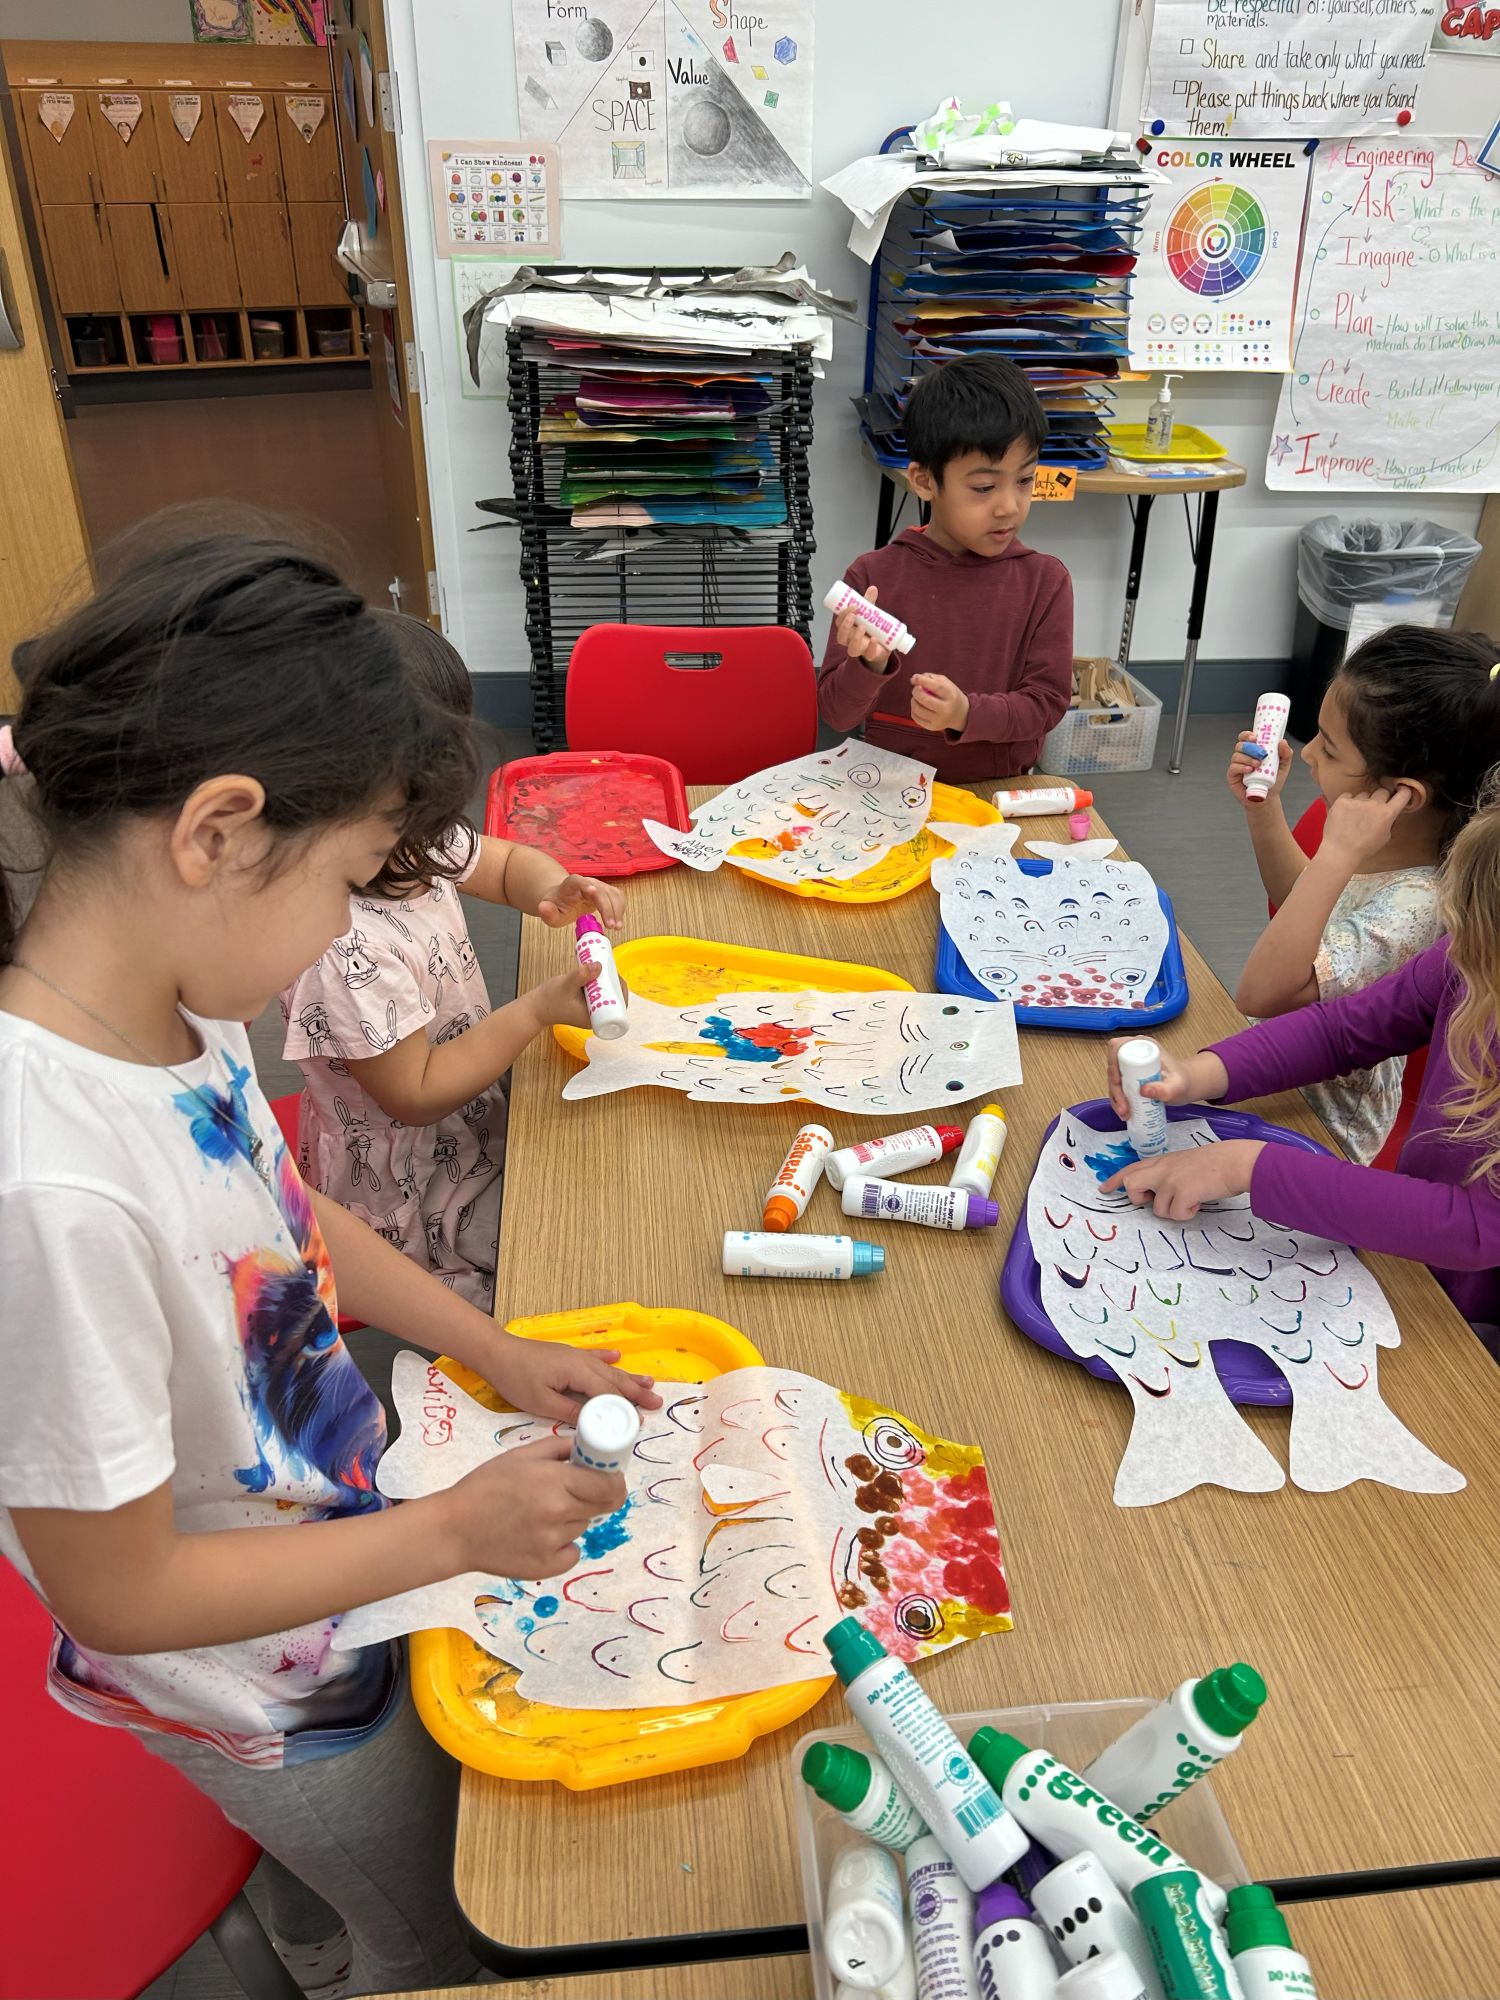
“Parents want to know how they can encourage the creativity and imagination we see in the classroom at home,” shared Ms. Porter. “In the Lower School Art Studio, students have access to multiple art materials and recycled items to utilize as they create from their imagination. Identifying a space for artmaking at home where children have materials at arm’s reach will inspire children to freely create at home. This can be as simple as a mat to set out at the dining room table and a caddy of supplies, or even a rolling cart, that your child can help to organize and maintain.”
Living in New York City presents unique challenges for families wanting to create creative spaces for their children. Establishing a dedicated area for artistic expression and creativity is invaluable for your child’s development, and it is well worth the effort. Here’s how to create an effective art and makerspace at home for your Pre-K to Grade 2 child based on Ms. Porter’s expert guidance.
Finding Your Space
Even in compact NYC living spaces, carving out a creative corner is possible. Consider some of the following ideas:
- Repurposing part of a dining table with a washable tablecloth that kids can use for drawing and painting
- Setting up a small table in a corner of your child’s bedroom dedicated to art and crafts
- Setting up a rolling cart full of supplies that can be moved as needed
- Creating a “maker bin”
- This is a box containing some materials to upcycle: toilet paper and paper towel tubes, interesting paper, scissors, tape, glue, and some crafty notions: googly eyes, rhinestones, and stickers. Also, add in some tempera Kwik Sticks or a few markers that can be carried to whatever space is available. This is very similar to what is used at school and quite manageable in any apartment or home.
Consistency of location helps establish the routine of creative work, even if the space isn’t permanent.
Setting Up with Organization
In smaller living spaces, organization becomes crucial:
- Consider using vertical storage with wall-mounted organizers or pegboards
- Label containers clearly with words and pictures for young learners
- Separate “self-serve” materials from “ask first” supplies that are messier
- For example, tempera paint sticks may be a good “self-serve” option for your child, while liquid tempera paints are an “ask-first” item that requires more guidance to set up and to clean up.
- Consider transparent containers so children can see what’s available
- Pens and pencils sorted into cool and warm color cups will help children to explore color choices
- Review and model expectations for using individual art materials at home
- Start with just a few materials and gradually add more to the art space
- Establish a rotation system to keep the space fresh without overwhelming
“Self-serve” ideas – with set guidelines, children can use independently:
- Tempera Paint sticks like Kwik Sticks
- Washable markers and colored pencils *(separated by warm and cool colors)
- Black markers for outlining
- Pencils
- Scissors
- Glue stick
- Copy, Mixed Media Drawing 60# plus, and construction paper
- Found materials from family adventures for collage, etc.
- Sticky rhinestones and other treasures
- Colorful craft and washi tape rolls
- Stickers: dot stickers in assorted colors are fun and versatile
More possible “self-serve” items:
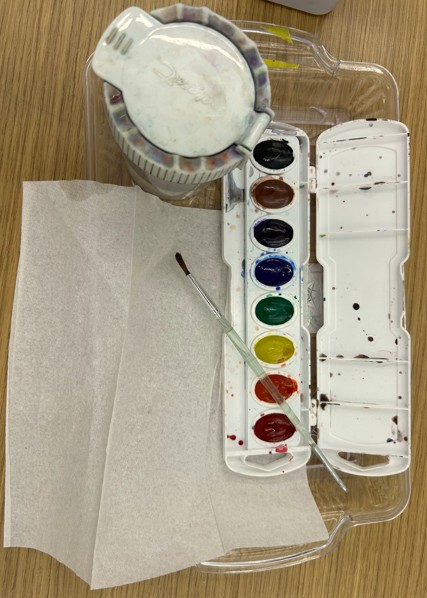
- Watercolor paint set with a spill-free water cup and 3-4 quality brushes of different sizes
- Tissues to blot paint
- Model magic or clay
- Rubber stamps
“Ask-first” ideas:
- Paints
- Strong craft glues
- Clay
- The list is endless…
City-Specific Material Collection Ideas
New York City offers unique opportunities for gathering creative materials:
- Collect fallen leaves and found materials from family adventures
- Gather interesting papers from packaging the neighborhood and stores
- Visit your local art supply shop for some amazing supply options
- Pro Tip: Stagger giving supplies to your child, so children have time to explore and learn to use different art materials. This will also keep your child interested, creating and minimizing the potential for a mess. Less is more when you are creating a materials setup that your child will be using “self-serve.” The goal is for your child to freely take, use, clean up, and return materials.
Creating Cleanup Systems That Work in Small Spaces
The goal here is to facilitate independent painting at home by establishing a routine for cleaning brushes and mixing paints that will maintain your child’s pallet of color while they paint. With a clean brush the dark colors will not cover the brighter colors that you child may desire to paint a sun or the sky. Children can create the colorful work they intend to and still enjoy the excitement of mixing new colors! In school, our motto for painting is: Swish, Wipe, Blot. This reminds artist to clean their brush between paint colors.
In homes where space is at a premium:
- Use washable art smocks to protect clothing
- Create visual set-up cleanup charts with photos for painting
- Designate an area to mix paint colors so your child maintains their color palette in the paint box
- Designate a drying area for wet artwork
- It is best to dry paint and wet work flat, if possible, so it does not run and drip. A small wooden drying rack is versatile for materials and paper storage as well.
- Establish simple routines and verbal reminders to help keep materials fresh and organized
- These are a few verbal reminders we use in Art class:
- Artists of all ages often work on multiple projects at onceIn class,
- remember to ‘Swish-Wipe and Blot’ the brush between colors
- “Snap that cap” (for markers)
- These are a few verbal reminders we use in Art class:
- Consider using washable materials when possible
Displaying Art in NYC Apartments
The artwork created by students should be displayed for students to take pride in what they create and inspire creative displays at home. Here are some ways to do this without student art from taking over your house:
- Create monthly or seasonal art notebooks of like sized papers with a construction paper cover. Hold it together with 3 binder clips as used at school. This is a great way to keep project together, and it also makes them easy to store
- Use magnetic strips on the refrigerator or a metal board
- Install a clothesline with clips along a wall
- Dedicate a small wall space as a rotating gallery
- Take photos of three-dimensional creations before disassembling
Ms. Porter loves to talk about any and all ideas—even brainstorming with parents. She is the proud parent of two children who grew up in Brooklyn, so she knows the benefit of creating a vibrant art and makerspace that works within your home.
BASIS Independent Brooklyn is a PreK–Grade 12 private school, providing students with an internationally benchmarked liberal arts and sciences curriculum, with advanced STEM offerings. Considering joining the Bears community? To join our interest list for the next school year and receive admissions updates and more, please click here.